You know what Instagram is overflowing with? Summer selfies, exotic locations, shopping sprees, and overall a whole lot of consumerism. Which quite honestly, plays in your favor in the grand scheme of a musician’s career. What is stupid though, is having an incredible vacation and putting your career on pause while you actually could be creating the most exciting visuals EVER for your fans. Here are 5 ways you can maximize your vacation in your own favor.
5. Carry A Professional Camera With You, A Tripod, And A Portable Bluetooth Speaker Whenever You Travel
You don’t have to plan to shoot a music video every time you go on a holiday. But you do have to be ready 365 days a year. That means, as long as you’re making your way to the top, you must be ready to take advantage of every occasion coming your way. That includes packing and carrying, just in case, a professional camera, a tripod, and a Bluetooth portable speaker with you. You’ll be carrying a max of 3 kg more than usual, but the visuals you can create with them, will pay off big time. You need the camera for obvious reasons, the tripod – for shooting the videos yourself without needing to hire a cameraman, and the portable speaker – for the loud volume to help you with your delivery. We know many artists shoot their footage with the music playing on their phones in their pocket, but it will not, and can not compare to the feelings you get when that bass hits you, when that piano charms you, and when your own voice sounds loud and clear.
Our own tested and recommended products: Canon 80D (on Amazon HERE, at $900), 60-inch lightweight tripod from Amazon Basics (on Amazon HERE, at only $26), JBL GO2 Waterproof Portable Speaker (on Amazon HERE, at $40). The Canon 80D is amazing in being professional without you having to break the bank and MOST importantly: offers Automated Focus for video mode. Meaning the camera will follow your movements without someone having to stay and continuously focus the video manually on you. It does not get better than his. The lightweight tripod speaks for itself. And the JBL GO2 is, hands down, the smallest beast-sounding speaker you will ever get your hands on. This little portable cube will scare the crap out of you when turned on to the max.
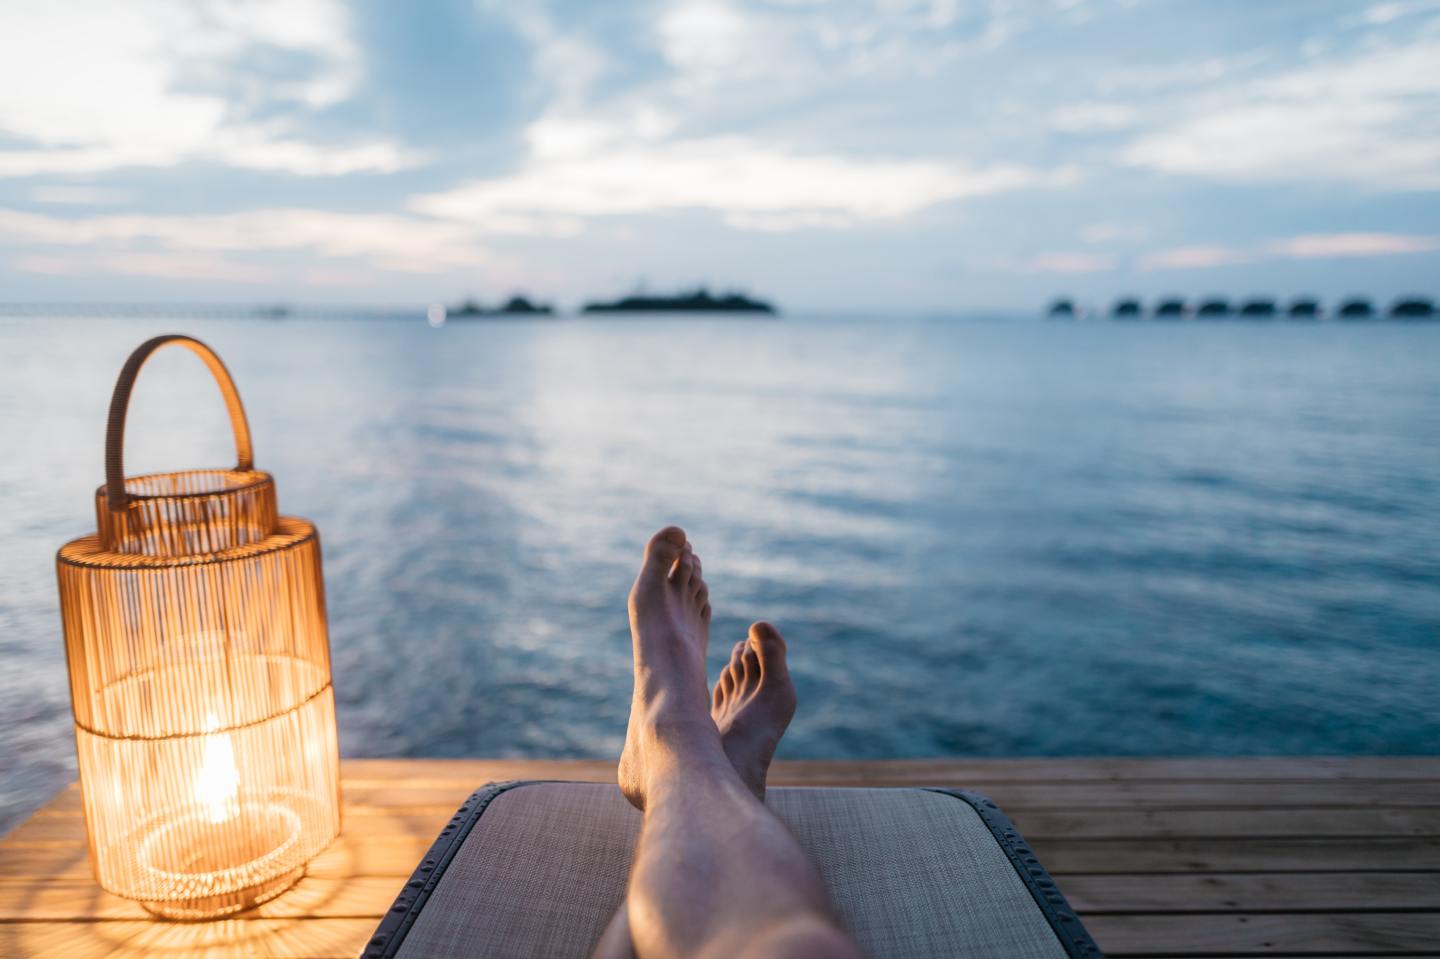
4. Prioritize Face Shots
If you’re saying “but hey, I don’t have a drone to shoot these high distances and 360-degree angles like these videos you’re showing me”, good news! there are people who do exactly THIS for a living. It’s called stock footage. It is available for free and for payment. One thing that no one else will be able to shoot for you though, is YOUR face and YOUR body in THAT location. So make sure you shoot many angles focused on YOU, and later on, if you don’t have enough time and tools to shoot your surroundings, complete your music video with professional high-quality footage from stock websites.
3. Move A Lot!
When you don’t have a pre-planned choreo, costumes, dancers, special effects, all the comfort a film studio offers, you have to make up in other areas where you can. That usually is the dynamics area. Meaning you will have to enrich your video with plenty of action: moving, showing locations, dancing alone, running, making faces, heck stand on your head and do splits if you’re in good shape. A lot of shots probably won’t qualify for the final footage, as using natural conditions is quite difficult and often artists not familiar with setting their camera’s ISO and aperture correctly, risk overexposing or underexposing the raw footage. So shoot as much as you can and move as much as possible. Use things and people surrounding you. Even homeless people are a sight to see if portrayed correctly. Plenty of artists have done it before. Just make sure you ask for permission and tip who’s willing to be in your video on the spot.
2. Use Your Phone On Max Video Settings As A B-Roll Camera
In case you’re not in the loop, A-roll is your main footage camera, usually focused on the character(s), and B-roll is your filler footage camera, focused around locations, transitions, and usually shot without sound. Your A-roll camera will be the DSLR you’ve carried from point 1, as its quality is far superior to anything else you’ve got on your hands. And your B-roll camera is your phone. Most smartphones today are capable of shooting 4k video quality and some – 2k. Worst case scenario, you have 1080p HD. Which is still dashingly good quality. After you’ve adjusted the settings for the highest possible quality, use the same tripod from 1. and place your phone instead and shoot yourself the surroundings and secondary movements (like the things you see from your car moving, the sun coming out, different animals and nature, etc). You will double up your available footage for the final music video and you will enjoy it greatly. Because now when you’ve made that weird face, you got a cool ocean wave coming down to replace it. You can skip this step as we said with purchased footage, but you will save a lot of money if you do it yourself. Put your phone to use.
1. Treat It As A Serious Music Video In The Post-Editing Process
If you took care of things as suggested, you’ve got a lot of quality footage on your hands to work with right now. The last, final, and most important step, the post-production. Do not take the editing process lightly just because you didn’t have a filming crew and studio lights. Treat it with the same seriosity that you would a music video that costs you 10 grand. Put in the time and effort and perfect those camera transitions, the zoom-in zoom-outs, the slow motion, the cinematic colors, the synchronization with the song itself, the opening scene and the ending frame, any special effects, etc. If you feel tired just reading this, then spend $300-$500 on a good video freelancer and he/she will do all of this for you. Just make sure you provide another video as a reference, because nobody is able to understand you and your ideas 100%. You can increase your odds by describing it as detailed as possible to the editor.
