Sometimes we take for granted the idea that all musicians have gone through the pain and the bliss that comes with the first gig, first studio song, first music video and they just come to us to learn the business side of it. In reality, there are talented musicians who’ve never yet stepped into a professional studio and are embarassed to ask how does one even get the idea from their head into a fully-produced record. Today, this is exactly what we’ll assist you with: recording your first song ever step by step walkthrough. If it makes you feel better, know that each and every one of us has been in that initial weird spot.
1. Decide what comes first.

Writing songs is not an exact science. So if you can play an instrument and you’ve come up with a catchy motif that you think would perfectly fit a hook for a song, then you basically start with the music. From the music, you can build your lyrics. You can most seriously have only the idea for a hook and then get in touch with a studio producer and see if he/she can fill in the rest and help you out with the remainder of the track. You could also try to build a simple baseline around that hook and then add your lyrics to it at the end. Don’t stress it if it sounds dry. There are talented people out there who get paid to do exactly this: elevate your song from demo to radio-ready product. The same applies to pre-purchased instrumentals. Things don’t need to be perfect at this stage. Song structure included.
In the case in which you start from the lyrics instead, you have to be a open to alter your initial rhyming pattern for example as the melody that you’ll purchase from a producer will more likely than not, NOT fit your lyrics 100%. You have to develop the skill of adjusting your words to the melody in such manner that the narrative remains coherent, substantial, yet matching like a glove to the beat.
2. Record your demo.

If you’ve got a rough mental draft of how the song is supposed to sound like, next thing you need to accomplish is recording a demo of it. The demo is vital for the sound engineer(s) to understand where the words, pauses, breaths, ad-libs are supposed to be placed in the final version. You can actually use your phone for this and record each vocal track separately then organize the tracks properly in a simple software like Magix Music Maker. To avoid the music reverberating and bouncing back into the mic of your phone, use headphones when you record your vocal tracks. If your phone doesn’t let you playback music AND record vocals, plug the headphones into a laptop or second device, and use the phone as your voice recorder.
Transfer the vocal recordings to your computer, organize them as mentioned, then find a producer/sound engineer with a studio where you can go record the final vocal tracks. We’ll assume for this article that you don’t have a home setup yet because then the process would be slightly different.
3. Find the right producer/sound engineer for your music genre.

Before you agree to work with X producer or Y engineer, make sure you send them your demo so that they have a good idea of what they’re going to deal with. It is advised against hiring a Rock music professional for example to mix and master a Hip Hop record. Take your time and do your research. Check their references, reviews, and past catalog. Are they already creating a sound similar to your liking? If not, what makes you think that all of a sudden they will be able to transition to an entire new sonic style?
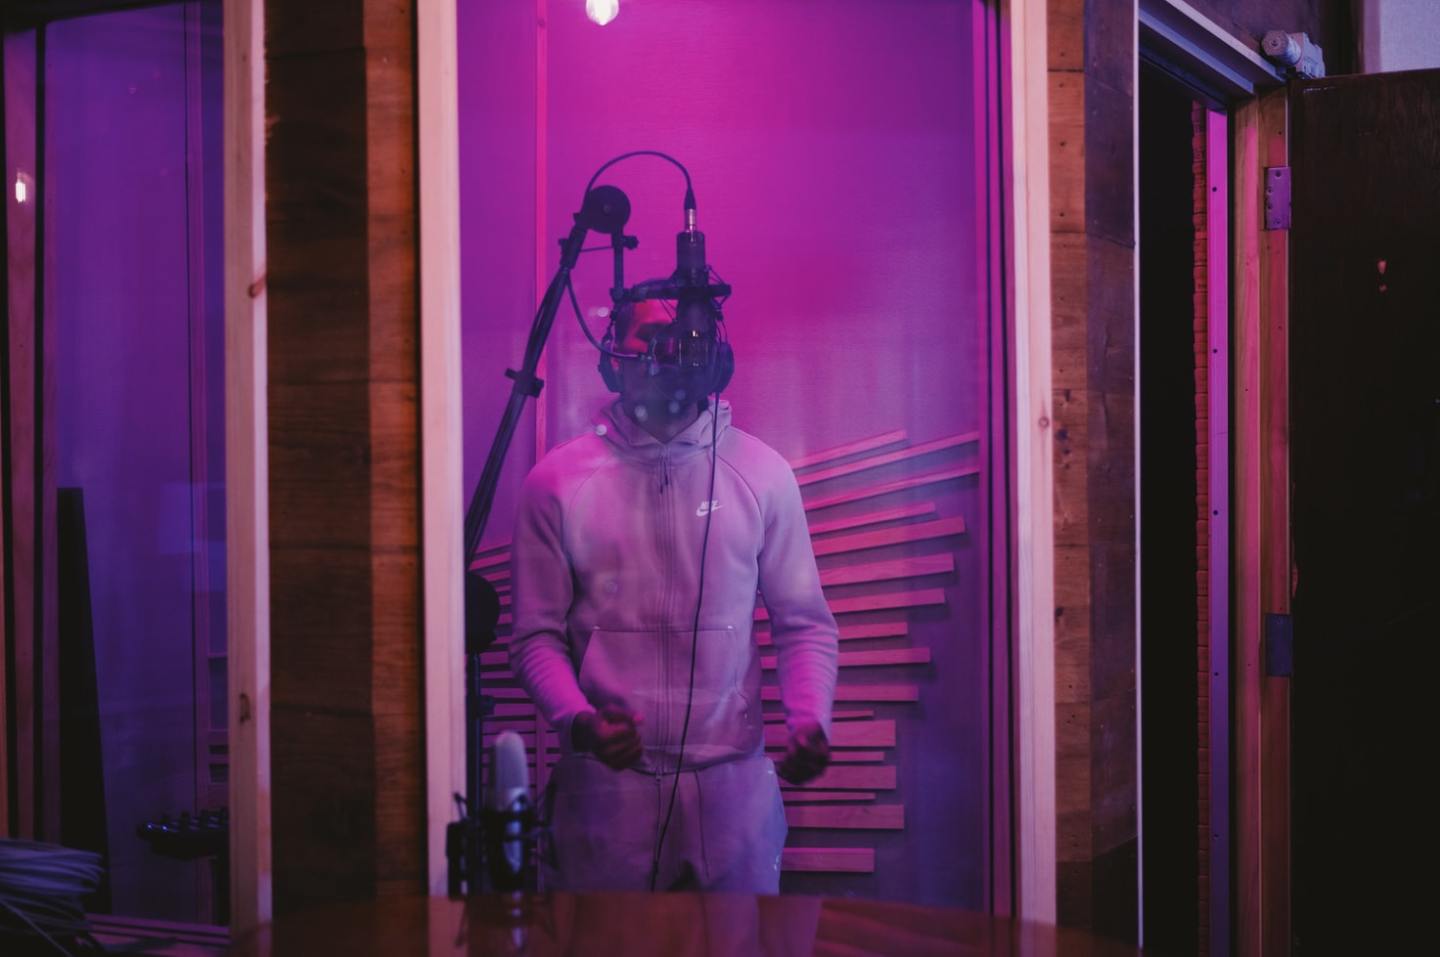
4. Record the final vocals.

Once you’ve found the right guy/gal with their own studio setup, you go in to lay down the actual voice that will go into the final song. You might have to record with a recording engineer who will be different than the actual producer or you might even have to record under the guidance of an intern. Reputable music studios often are involved with campuses, universities, and graduate programs thus your recording session might be handled by someone else entirely. It is monumental you do your absolute best to sound as good as humanely possible the day of your final recording so show up in tip top shape mentally and physically.
5. Make the needed adjustments.

A good producer who cares about his clients, will send you not one but several drafts of his work to see if you’re okay with the direction of the sound. Some might even have the inspiration to switch up one instrument for another. You, the artist who’s paying, have the last word in the acoustic changes. So be honest if you don’t like a certain tweak or FX effect or choir overlay. You can’t fix what you don’t know that needs to be fixed so communicate often and openly with your sound engineer. If, however, your issue is your own voice, then dear you just might have to hit the recording booth again and do better this time. New artists are oblivious to the fact that all songs go through vocal editing and they might even get mad hearing the autotune effect on their pipes but if it’s there, most likely it was needed. So know exactly what your vocal limits are and embrace the autotune sound or redo your vocals with a more accurate pitch this time.
6. Enjoy your song.

If you’ve survived all 5 steps and feel like still going forward, congratulations! You’re a true recording artist! You can now sit back, turn the volume up, and blast that song over and over again and pat yourself on the shoulder. A good record takes time, effort, and money. And we sure hope you know that getting the song done is barely step one into making a decent release happen. Then you have branding, marketing, promotion, licensing, distribution, performing 😀
If you read this far, please pay us back for the free, high-quality articles by streaming the following playlist to support our top 50 Blue Rhymez Entertainment-approved independent artists. Thank you.
